AI BG Remover’s Blur Background editor softens the original setting of a still photo while keeping the selected subject clear. Start with a complete JPG, PNG, or WebP, adjust background blur, and brush over selection mistakes before downloading. Local edits and exports are free, with no account, watermark, or generation credits.
Learn how to blur a background without separate layers. Blur Background starts with a photograph and ends with a file you can save.
Upload a Complete Photo
Upload one complete photograph. To blur a photo background, choose a subject you can distinguish from the scene. A transparent cutout has no backdrop to soften. Check size and dimensions first; choose another file if it exceeds a limit.
Adjust Blur and Refine the Selection
Wait for subject selection, then adjust background blur. Check which areas stay clear. Use Keep Sharp for missed subject details and Blur Area for background included by mistake. Undo a stroke if the boundary becomes worse.
Preview and Download Your Photo
Switch between Original and Result before downloading. Choose PNG, JPG, or WebP and check output dimensions. A supported, uncropped source keeps its pixel dimensions. Cropping reduces them; exporting does not add detail to a low-resolution photograph.
Blur Background separates softness, selection, and the crop of your finished image.
Choose a Blur Strength
Choose strength on the 0–35 scale, or start with Light, Medium, or Strong. These are starting points, not camera apertures. Set 0 for the original appearance. When you blur a photo background, increase softness gradually and inspect the outline; the strongest effect is not always best.
Keep or Blur Areas with a Brush
Keep Sharp restores source detail inside the selected area; Blur Area makes that area part of the softened backdrop. When you blur a background, a small brush is useful near glasses and narrow gaps. Brush size and Undo/Redo let you revise that boundary. The brush changes selection, not the photographed object, and cannot reconstruct missing detail.
Compare the Original and Crop the Result
Use Original/Result to spot boundary changes, then crop the combined image. Foreground and backdrop stay together without repositioning the subject over another layer. Recheck dimensions after cropping. Preview zoom helps inspection; it does not increase export resolution.
Blur a photo background when you want less distraction without replacing the scene. Compare the result with the original, especially around hair, glass, and small gaps. Background blur cannot recover detail that was already out of focus or guarantee that private information becomes unreadable. Need the steps first? See how to blur a background.
Inspect Hair and Shoulder Edges
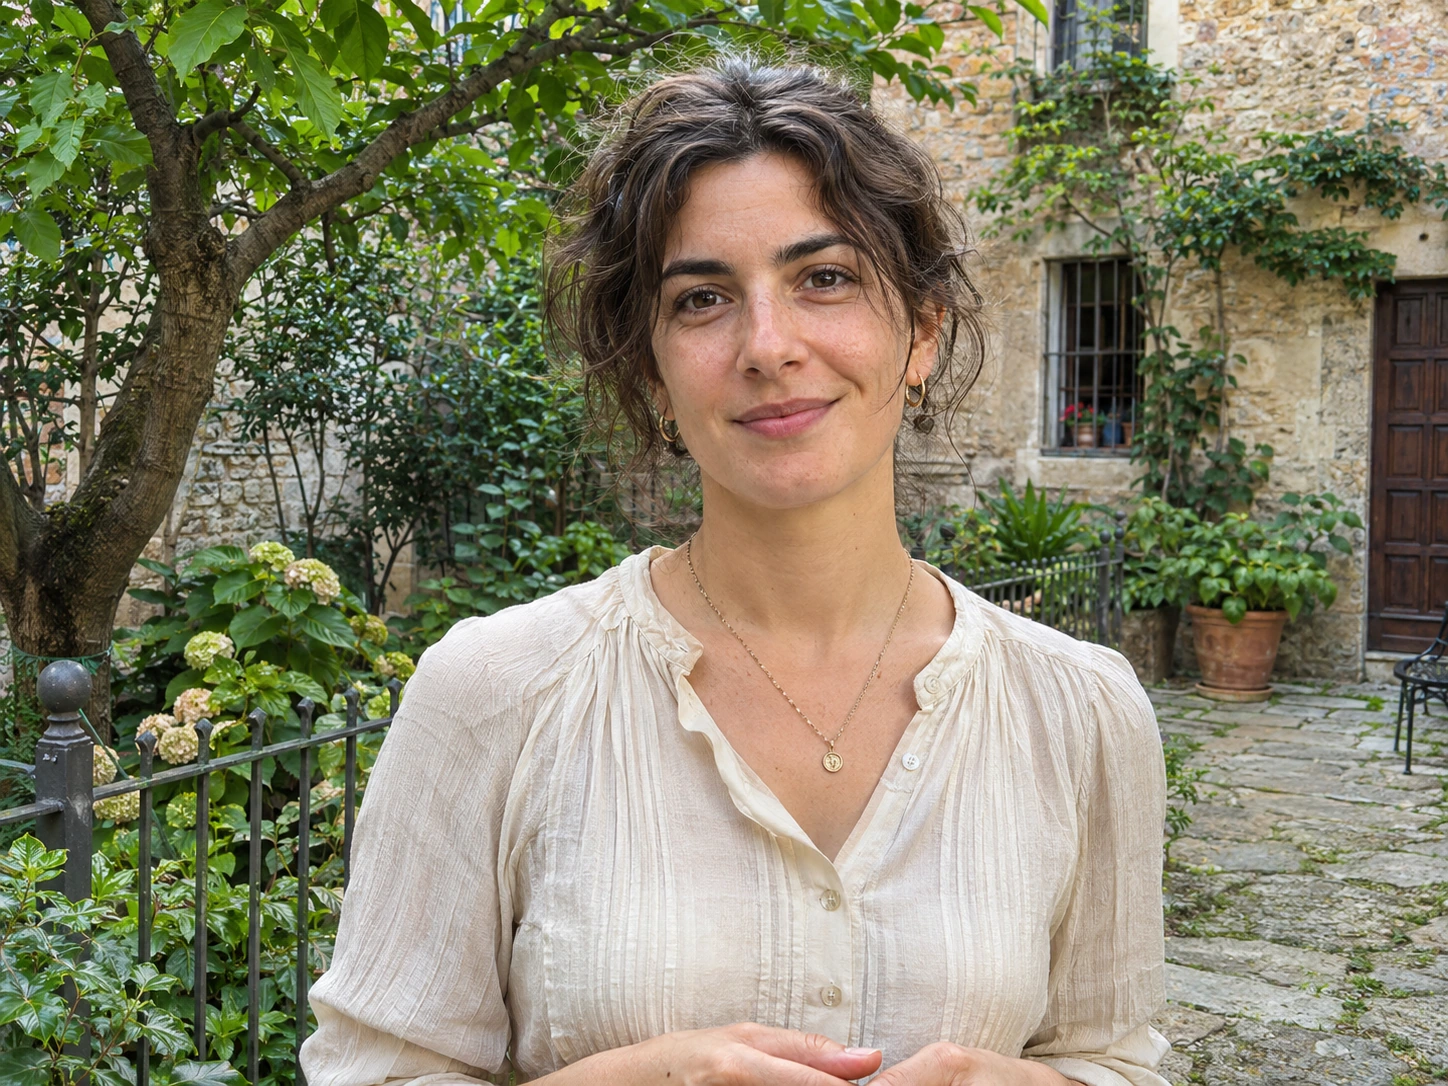
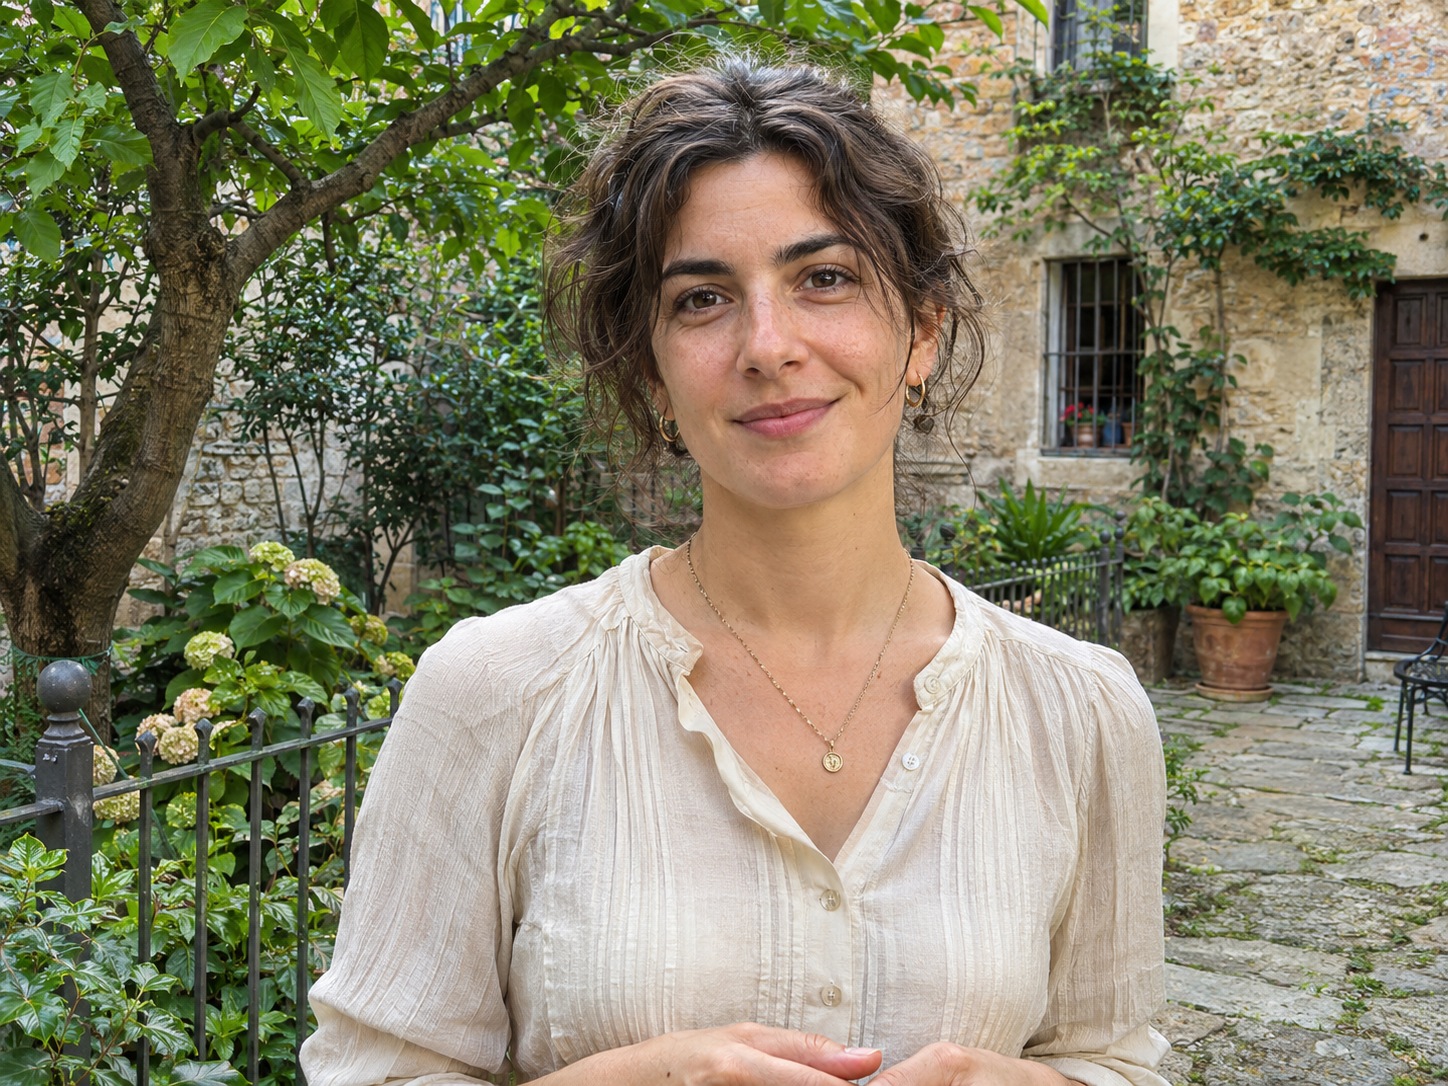
Inspect flyaway hair, shoulders, collars, and eyeglass rims. When you blur a background around fine strands, a bright or colored fringe may become more visible at stronger settings. Compare with the source and reduce strength or refine selection. Also inspect a portrait with a busy, low-contrast setting; one easy example cannot represent every portrait.
Original
Result
Portrait check: hairline, shoulders, and fine strands.
Original
Result
Complex portrait check: glasses and a low-contrast background.
Inspect Transparent Products and Reflections
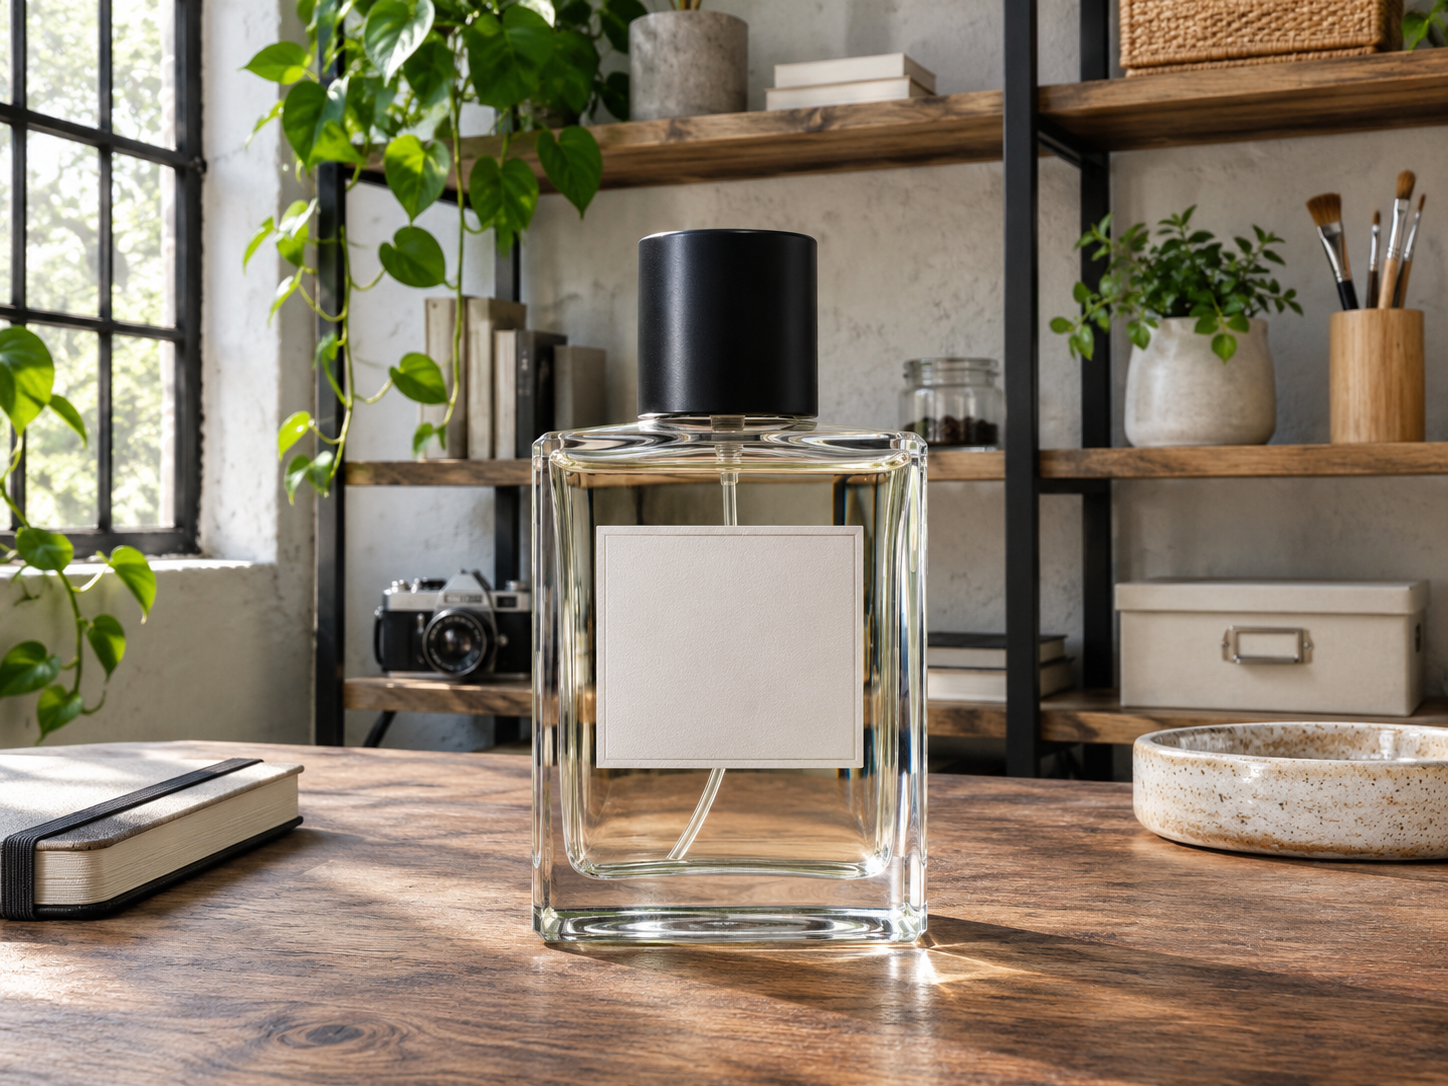
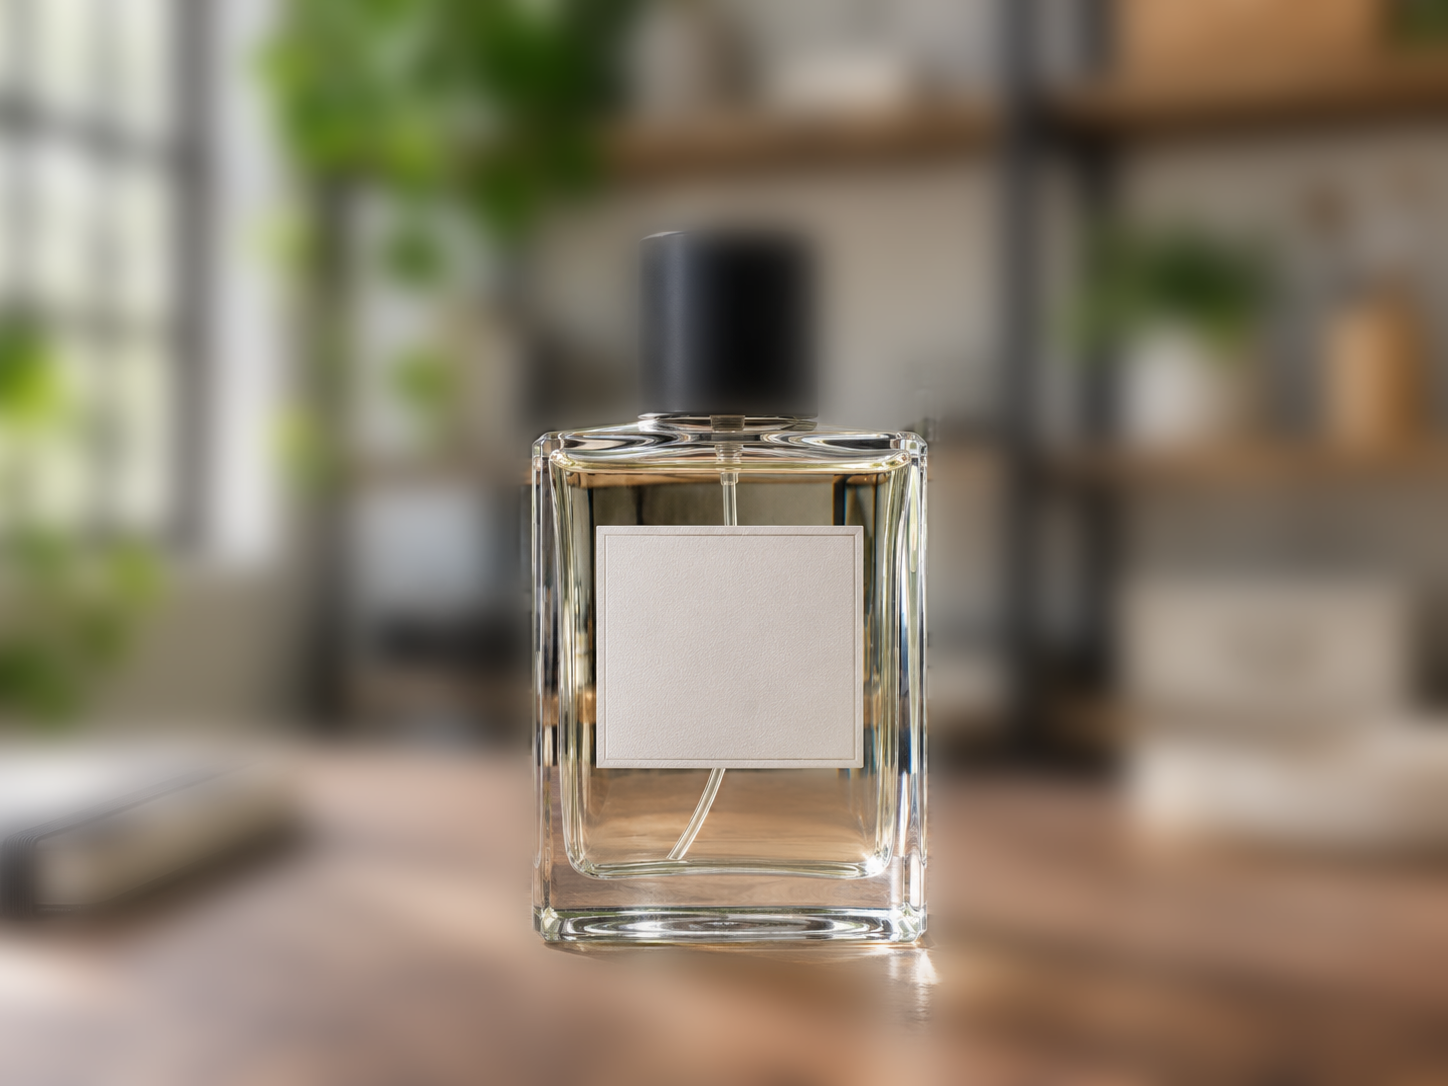
Inspect a transparent bottle’s outline, label, reflections, and scenery visible through its body. A crisp outline does not prove transmitted background was reconstructed correctly. To blur a photo background around glass, inspect interior areas too. Use a gentler setting if a stronger effect makes the product look detached or inconsistent.
Original
Result
Product check: glass, label edges, and reflections.
Inspect Furniture Gaps and Thin Legs
Check between chair legs, under armrests, and through handles. Background blur should reach openings while thin foreground parts remain visible. Brush carefully, compare corrections, and undo if a leg disappears. If gaps remain wrong, choose a simpler photograph or another editing method rather than hiding the problem with stronger blur.
Use Blur Background for photographs that should keep their original setting. These two tasks call for different checks before you share the result.
Make Your Profile Portrait Stand Out
A profile photo often benefits from a quieter room or garden behind the person. Blur a background lightly so the setting still feels connected to the portrait. In Blur Background, inspect hair, glasses, and shoulders before choosing a square or vertical crop. Keep enough space around the head for the destination layout. Export after checking the displayed dimensions, then upload the saved file to your profile service. If the face was already blurry, this edit will not restore focus; begin with a sharper original instead.
Reduce Distractions Around a Product
A product photograph may need less visual clutter while retaining a shop, shelf, or workspace. Blur a photo background moderately, then check packaging edges, handles, and labels at a useful zoom. Blur Background can soften distractions, but it does not correct reflections, rebuild transparent materials, or guarantee a marketplace will accept the image. Keep the original lighting relationship believable. For a catalog that requires a plain white backdrop, use White Background instead. Save the finished photograph in the format your destination accepts and inspect the file once more before publishing.
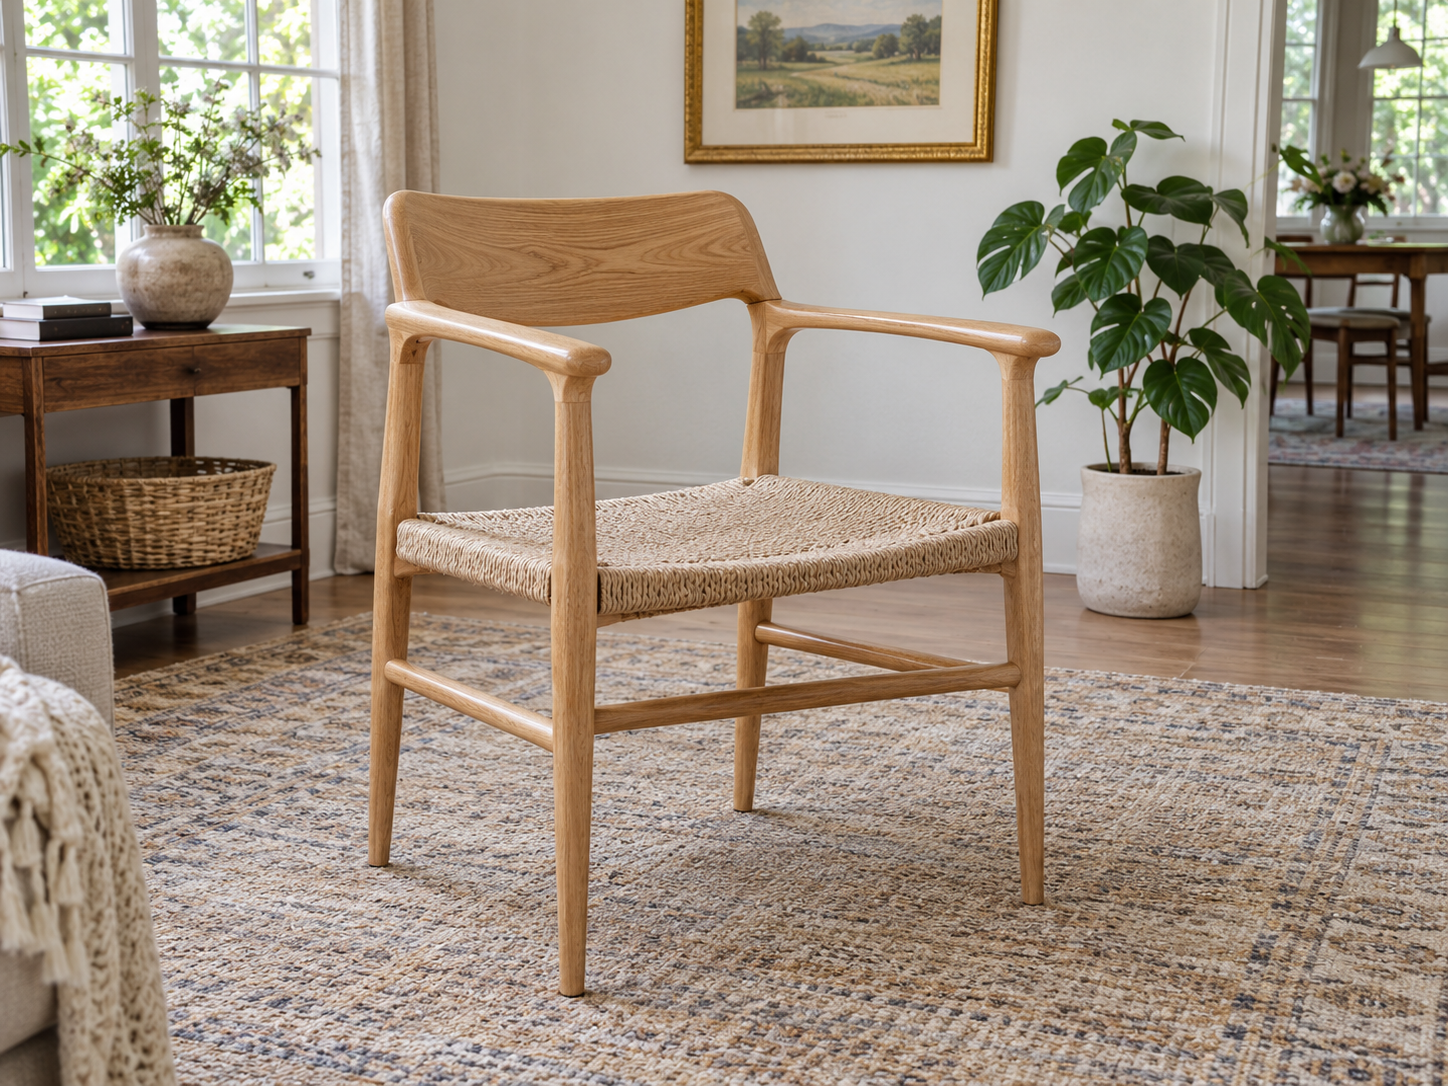
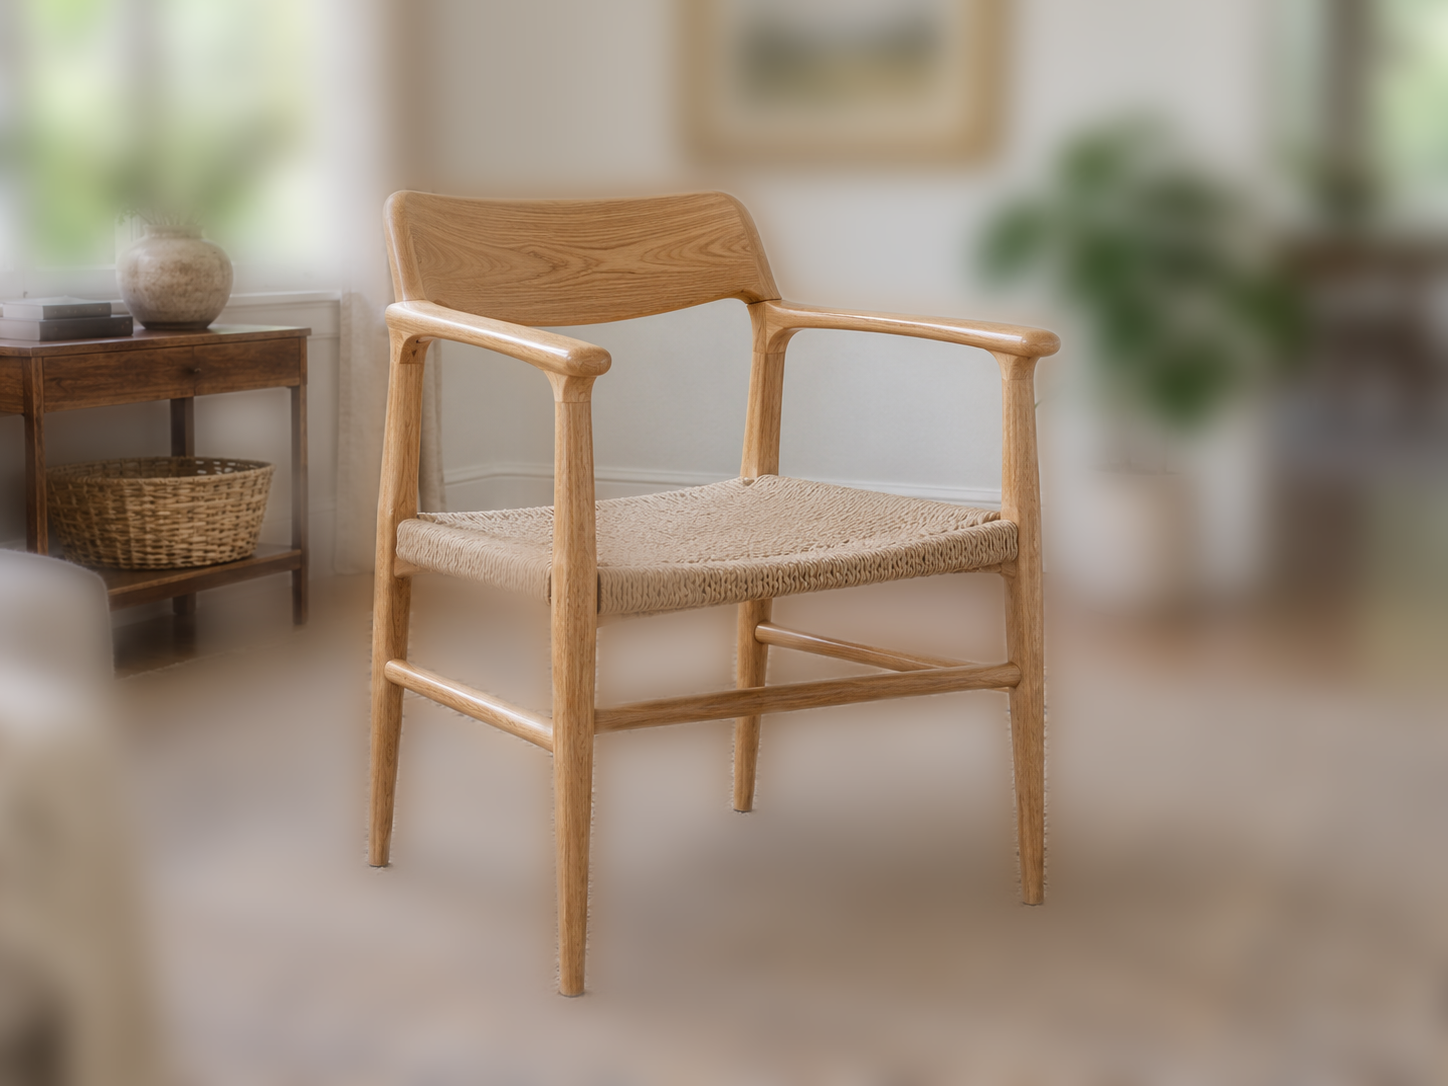
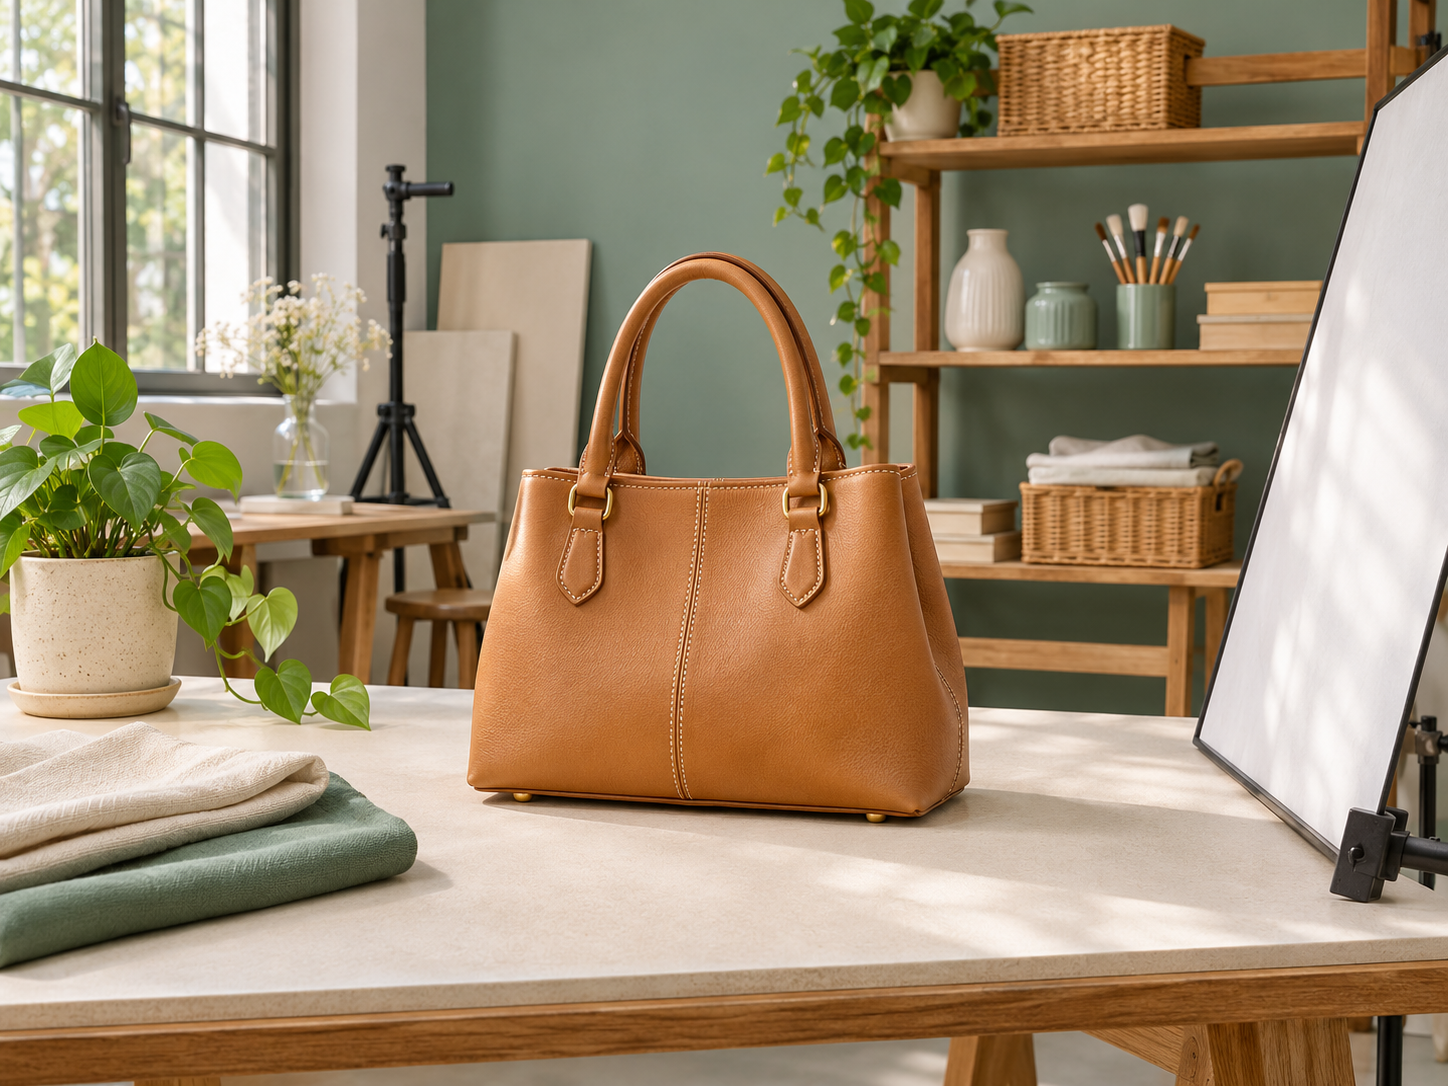
AI-generated scenes illustrate uses, not editing results.
Before you blur a photo background, check what “free” covers and what your source file can support. Blur Background applies the following local editing limits.
Free Edits Without an Account
Local Blur Background edits and downloads are free, require no account, and use no generation credits. This includes selection touch-ups and three export formats. Other online features have separate rules; see Background Remover Pricing. Device and browser limits still apply.
Input Limits and Download Sizes
Every input limit below applies. Blur Background keeps source pixel dimensions only for a supported, uncropped source. JPG and WebP use image encoding; equal dimensions do not mean an identical file, lossless quality, or preserved camera metadata.
File and export limits
Input
Output dimensions
Input
One static JPG/JPEG, PNG, or WebP
Maximum file size
15 MiB
Maximum pixel count
12 megapixels
Maximum edge length
6000 px per side; all three limits apply together
Source requirement
Complete, opaque photo; no transparent cutout or animation
Download formats
PNG, JPG, WebP
Output dimensions
Source-sized without cropping; the displayed size applies after cropping
Local Processing and Browser Requirements
Blur Background processes photo pixels in your browser. Initial use may download processing resources, which a browser may cache. Editing uses device memory; exports remain where you save them. Local processing does not mean the entire website makes no network requests. Read Background Remover Privacy Policy.
When choosing where to blur a photo background, compare controls and downloads. Blur Background uses local editing; competitor observations cover specific guest tests.
Compare Controls and Manual Refinement
Manual refinement helps when you need to blur a background around difficult edges. The table distinguishes brushes from automatic point-assisted selection. Controls absent from a quick panel may exist elsewhere in that provider’s product.
Controls in the compared workflows
Control
Blur Background
Pixelcut
Magic Studio
Cutout.pro
Strength
0–35 and three presets
0–60
0–30
Five presets
Selection refinement
Keep Sharp / Blur Area brush
Not shown in tested quick panel
Automatic points and manual brush
No manual selection in tested blur tool
Compare Free Downloads and Resolution
On November 15, 2026, two 1448×1086 PNG photographs were tested per competitor. Pixelcut and Magic Studio downloaded both at source dimensions; Cutout.pro’s free PNG files were 577×433, with full size labeled 1 credit. Different strength scales do not establish equivalent blur or an accuracy ranking.
Our row describes this local workflow and its file limits; competitor rows record the dated tests above. Policies may change. Check the linked provider pages before relying on a free tier.
Choose the Right Background Tool
Blur Background keeps the existing scene. Choose another task when you need to remove or replace it.Use Image Background Remover for a cutout, White Background for a plain white setting, or Photo Background Changer for a different scene. If you are deciding how to blur a background, this page keeps that task separate from replacement.
How Do I Blur a Background in a Photo Already Taken?
In Blur Background, upload an existing complete photograph, adjust softness, check the selection, and download. For a walkthrough, see how to blur a background. It cannot recover original camera depth information or sharpen a subject already out of focus.
Can I Blur Background Online on My Phone?
Use Blur Background in a phone browser that supports the required image-processing features and has enough memory. No app installation is required. If preparation or processing fails, retry, use a smaller supported photo, or try another device; compatibility is not universal.
How Can I Keep the Main Subject Clear?
Start with a subject that is clear in the source, then inspect the selection. Keep Sharp can retain missed areas and Blur Area can correct background included by mistake. If the original subject is out of focus, changing background blur will not recover its detail.
How Much Background Blur Should I Use?
Start moderately and compare with the original. Background blur should reduce distraction without creating an obvious fringe around the subject. Check hair, labels, and openings before increasing strength. A stronger effect is not automatically a better result, especially around glass or fine detail.
How Can I Fix a Wrong Selection or Keep Several People Sharp?
Use the selection brush and check each person or object you want clear. Keep Sharp adds source areas back to the foreground; Blur Area sends unwanted areas into the softened background. Undo mistakes. Multiple people may require manual correction; automatic selection can miss them.
Is Background Blur Free, and What Can I Download?
Local Blur Background edits and PNG, JPG, or WebP downloads are free, without an account or watermark. Original pixel dimensions require a supported source and no crop. Cropping changes the output size. Separate online generation features follow the rules in Background Remover Pricing.
Are My Photos Uploaded or Stored by This Tool?
Blur Background processes your photo in browser memory rather than uploading image pixels for processing. Processing resources may download and be cached. Saved exports stay on your device. This does not mean the whole site is offline or that browsers never retain traces; see Background Remover Privacy Policy.