
About AI BG Remover
Get to know our browser-based background editor: what it does, how it handles photos, who publishes the guides, and where to ask for help.

AI BG Remover is a browser editor for removing a background, fixing the edges, and putting a photo on a different backdrop. You can finish an ordinary edit and download it without signing in or entering a card. Here is what the tools are useful for, what happens to your photo, and what to check before you use the result.
How your browser handles the edit
The free editor on our homepage downloads a processing model the first time you use it. That model creates the cutout in your browser. Erase and Restore, cropping, background colors, and downloads run there too. Browser settings and available storage affect whether model files are cached for your next visit.
This homepage workflow keeps the original photo and any background you add on your device. The separate Image Background Remover and White Photo tools send your selected photo for AI processing. Each tool explains its processing method before you submit an image.
The work uses your device’s resources. A large image can take longer to process, especially on a phone with several other apps open. If controls become slow, try closing unused tabs or working from a smaller copy of the original. Keep the original file so you can start again without losing your source image.
Three everyday uses for a cutout
Marketplace sellers often photograph used goods on cluttered tables. Removing the background places items on neutral backdrops so buyers focus on condition and details. A dark preview background helps spot stray pixels or pale halos around reflective edges before saving.
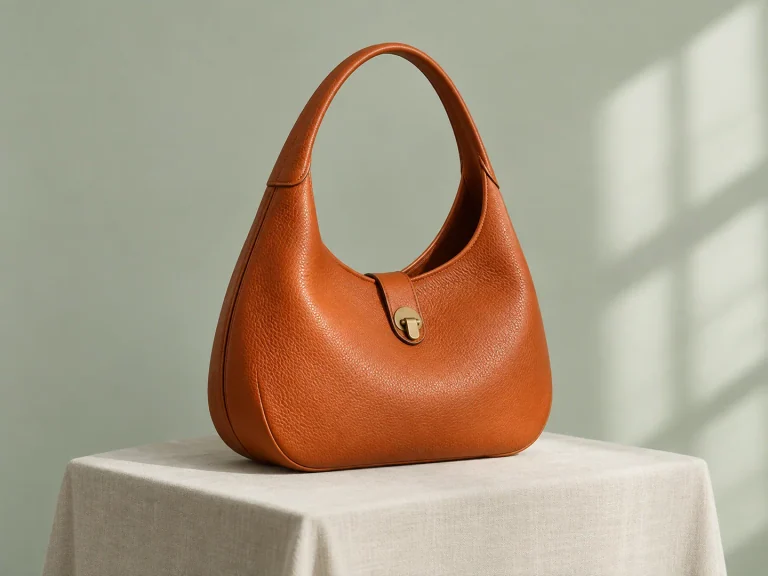
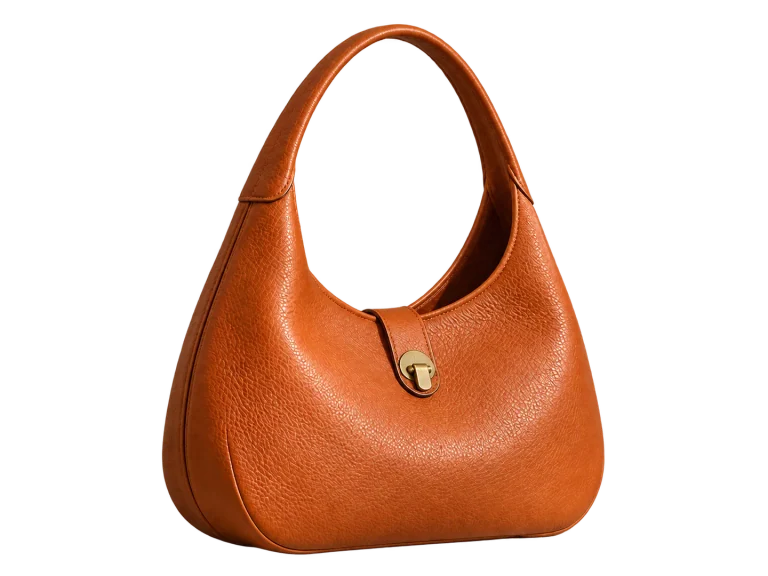
Teams and clubs frequently need consistent portraits for directories without hiring a studio. Snapshots taken near bright windows can be isolated onto soft neutral backdrops. Zooming in along hair and shoulder lines lets you refine edges so rosters look natural.
Presenters, teachers, and students regularly need cutout graphics for lesson slides and project decks. Exporting subjects as transparent PNG or WebP files avoids awkward white boxes over colored templates, letting illustrations blend neatly across slide layouts and charts.
A workflow you can repeat
For the free homepage editor, start with a sharp photo in which the subject stands out from the background. Select the photo, wait for the first cutout, and look over the whole subject before making small changes.
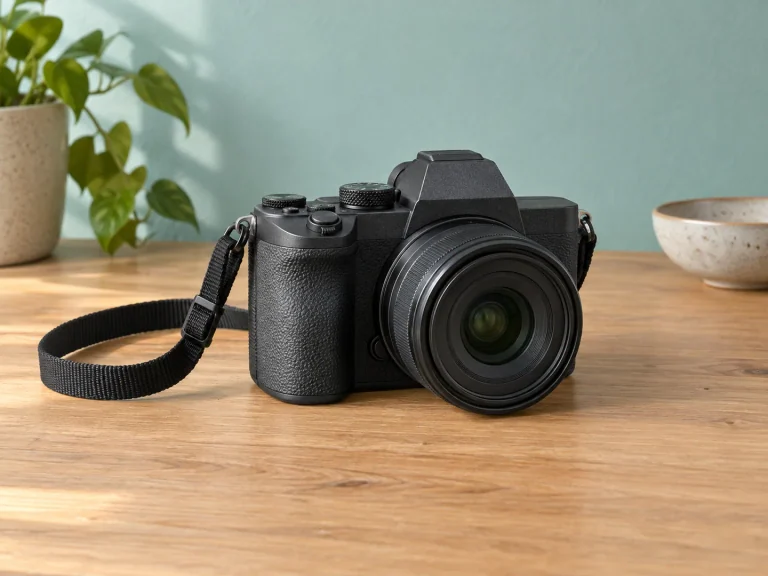
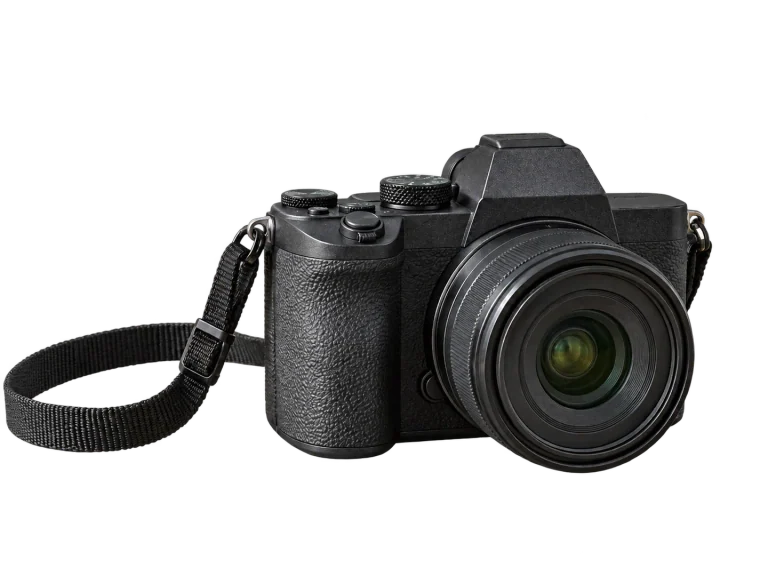
Once the initial outline appears, test different preview background colors. Dark backgrounds reveal light fringes, while light backdrops highlight leftover shadows. The editor does not automatically correct shadows or alter the subject itself, making visual inspection an essential step.
When delicate edges like wispy hair need refinement, use the manual Erase and Restore brushes. Adjust brush size to clear broad areas or restore fine strands, using undo or redo to step through your changes until the outline looks right.
- Step 1: Choose a sharp, well-lit photo with clear contrast between subject and background.
- Step 2: Let the browser create the first cutout, then review the whole subject.
- Step 3: Switch preview background colors to check borders and spot leftover pixels.
- Step 4: Use Erase and Restore brushes to adjust edges, changing brush size as needed.
- Step 5: Pick a transparent canvas, solid color, or uploaded background, then download your file.
File limits and difficult subjects
The free homepage editor accepts one JPG, PNG, or WebP at a time, up to 15 MiB, 12 megapixels, and 6,000 pixels along the longest edge. Other tools show their own input limits beside the upload control. These are tool limits, not limits of the image formats themselves.

Images must satisfy all three boundaries together. For example, a 4,000x3,000 photo equals 12 megapixels and fits within limits if its file size is 15 MiB or less. Conversely, a 6,000x4,000 image totals 24 megapixels and exceeds the 12 megapixel limit. Staying within limits does not guarantee an automated cutout will be complete without brush touch-ups.
Automated outlines work best on solid objects with distinct contours. Tricky subjects like flyaway hair, clear glassware, and low-contrast borders typically require manual brushwork. Speed depends on your processor and available memory; closing extra browser tabs helps keep editing responsive.
Transparent, white, or another color?
Choose a format for the next place you will use the picture. PNG can preserve transparency and is useful for placing a cutout on slides or combining it with another design. WebP also supports transparency and can make a smaller file, depending on the image and export settings. Check that the destination accepts your chosen format.
Standard JPG files cannot store transparency and are always fully opaque. Before downloading as a JPG, choose your desired solid background color—such as white or neutral grey—inside the editor. Selecting your background color first avoids unexpected fills and produces an image ready for immediate use.
White is a useful starting point for a simple product photo, but each shop, marketplace, or publisher sets its own image requirements. Check those requirements before preparing a whole set. For pale objects, inspect the cutout on a dark background first so missing edges are easier to see, then switch back to white for the final download.
Photos and optional AI backgrounds
On the homepage, basic background removal, brush adjustments, color changes, and downloads happen in your browser. These operations are free and do not upload your photo. Choosing an AI tool starts a different workflow.
Free homepage editing
- Select a photoFrom your device
- Edit in the browserRemove, refine, compose
- Download the resultSave a file to your device
AI image processing & backgrounds
- Photo or descriptionSelected image for AI edits; text for a new backdrop
- Server and AI serviceSent through our server to an AI provider
- Retrieve a backgroundResults and requests are stored
Google sign-in is our only account option. Authentication retrieves basic profile information: your public identifier, name, email, verification status, and avatar. We never access passwords, Gmail messages, or Google Drive files. Login sessions last up to 30 days and refresh with activity, while signing out ends the session immediately.
Image Background Remover and White Photo send your selected image through our server to an AI provider. AI background generation sends your description and requested settings; a text-only background request does not need your source photo. We keep generated results and request records so you can retrieve a result and check its credit charge. See the privacy policy for the details that apply to each feature.
We respect privacy choices and handle data inquiries across account and visiting records. To review or manage account information, we may ask you to confirm ownership of the associated account. Our privacy policy explains how website requests, cookies, and account records are managed.
What you can use for free
The homepage editor lets you remove a background, use Erase and Restore, crop, choose a solid color or your own backdrop, and download for free. No account or payment card is needed for these local edits.
AI image processing and generated backgrounds use credits: Model V1 costs 3 per image and works without signing in; Model V2 costs 5 and requires Google sign-in. The daily allowance is 10 credits. Signing in carries over the same daily balance rather than adding a second allowance.
The pricing page lists monthly and yearly subscriptions and one-time credit packs. Sign in with Google to buy credits through the embedded Stripe checkout. Credits are added after payment is confirmed. You can view payments and cancel future subscription renewals in Billing & plans.
Who maintains the guides
The website and its guides are maintained under the AI BG Remover name. The guides explain the controls available here, the limits we ask you to work within, and choices such as whether to save a transparent file or use a solid background. They are written to help you finish a specific editing task.
Our format advice draws on MDN Web Docs. General guidance about an image format is kept separate from this editor’s own upload limits. For example, JPG being opaque is a format property; the 15 MiB input limit belongs to this tool.
Illustrations and prepared examples help show a workflow or a detail worth inspecting. They are not customer results or measured accuracy tests. A displayed scene also does not mean this editor generated every part of it. Use your own photo to judge whether the result suits the job.
If a step is unclear or a result looks wrong, the contact page explains what to include in a message. A page address, the action you took, and the exact error are a useful starting point. Corrections to instructions are covered by our editorial standards, alongside how we record content revisions.